05:00


Quarto Websites
Create and publish your first website
Harsha Halgamuwe Hewage, Data Lab for Social Good Research Group, Cardiff University, UK
2025-11-12Outline

Connect R Studio with GIT
Lets build the home page
How to style your website
Pages and listings
Lets publish your website
Assumptions
You are expected to be comfortable with R and Git.
Have used Quarto to generate documents (e.g. HTML, PDF, MS Word etc.)
Are comfortable editing plain text documents (e.g
.qmd) in your IDE (e.g. RStudio, Visual Studio Code etc.)Want to walk away with your own personal website.
We won’t assume you have any HTML, CSS/SCSS or Git/GitHub experience.
What we will cover?
- Create the home page
- Simple styling such as font, colour, size
- Listing and navigation
What we will not cover
- Advance styling using
cssandscss - Advance navigation options
- Customise templates
- Run code blocks
Materials

You can find the workshop materials https://chamara7h.github.io/lab/ or simply scan the QR code.
Note: These materials are based on my learnings at;
Posit PBC: Quarto websites video series.
Introduction to Git and GitHub for R Users by Nicola Rennie.
Publish a Quarto project using GitHub Pages by Melissa Van Bussel.
Connect R Studio with GIT
Using Git and GitHub with RStudio
What you need:
R, RStudio, and Git installed on your laptop
A GitHub account
GitHub credentials
Optional (but strongly recommended):
The usethis R package
Lets setup Git in R Studio - Live demo
Then,
R script
Now it is your turn.

Create a GitHub account if you don’t already have one, and make sure you have Git installed on your laptop.
Install and load the
usethisandgitcredspackages.Configure git then run
create_github_token(), and follow the instructions to generate a token.Run
gitcreds_set()and paste in the token when prompted.
Lets build the home page…
Start with a template
Start somewhere logical (Mac and Windows OS):
OR (Windows OS)
Get the website template:
Follow the prompts:
Terminal
Now it is your turn.

Get the starter template.
Open
index.qmdPreview
index.qmd
02:00
Home page structure
index.qmd
---
title: "Bruce Wayne"
subtitle: "I am Batman"
image: profile.jpg
about: # https://quarto.org/docs/websites/website-about.html
  template: jolla
  links:
    - icon: github
      text: Github
      href: https://github.com
    - icon: linkedin
      text: LinkedIn
      href: https://linkedin.com
---

A little bit about me and my life.

## Education

University of XYZ, City \| Location \| Sept 20XX - June 20XX

## Experience

Workplace \| Job title \| April 20XX - present
Webpages are like any other Quarto document:
- Start with a YAML header
- Can include code cells
- Everything else is markdown content
About key in YAML
Landing/ home page controlled by the
aboutkey in YAML.Content and YAML values are combined using a template:
Different templates: jolla, trestles, solana, marquee, or broadside
How to set the image
Used in about template, and social cards.
website/
├── _quarto.yml
├── images/
│   └──  profile.jpg
└── index.qmd
Use a path relative to index.qmd
Image shapes: rectangle, round and rounded
Now it is your turn.

Edit the content in
index.qmdto reflect you.Try different templates and pick one.
Edit the links to point at your own profiles, or add different links.
Replace the image with your image.
Experiment with
image-shape.
05:00
How to style your website
Understand the website structure
A minimal website has two files: index.qmd and _quarto.yml
index.qmd: Renders toindex.html, your home page._quarto.yml: Controls project and website properties.
When rendered you will get a _site/ folder. This contains everything needed to serve the site.
Styling using YAML
With Quarto html output we have a number of ways to style the site.
A number of basic options allows us to change
colors,fonts, andSIZES.
Colours
fontcolor: The main color for text on the sitelinkcolor: Color of the linksbackgroundcolor: Background color of the whole sitemonobackgroundcolor: background for code chunks
Need more colours: Figma colour pallet
Styling using YAML
With Quarto html output we have a number of ways to style the site.
A number of basic options allows us to change
colors,fonts, andSIZES.
Fonts
mainfont: The main font for text on the sitemonofont: Font for code elements
generic families include; serif, sans-serif, monospace, cursive, fantasy, system-ui, ui-serif, ui-sans-serif, ui-monospace, ui-rounded, and fangsong.
Styling using YAML
With Quarto html output we have a number of ways to style the site.
A number of basic options allows us to change
colors,fonts, andSIZES.
Sizes
max-width: Width of the main text area of the pagesfontsize: Base font size for websitelinestretch: Distance between lines of text
Remember!!! You can always do further styling using custom styles in CSS.
Now it is your turn.

Open up your
_quarto.ymlfile and experiment with the colors.Open up your
_quarto.ymlfile and experiment with the fonts.Open up your
_quarto.ymlfile and experiment with the sizing.
05:00
Lets add pages
Adding Pages
Two decisions:
Structure Where will it live in your website project?
Navigation How will people discover it on your website?
index.html is special
File location
index.qmd
talks/index.qmd
URL
{ site url }
{ site url }/talks
index.qmd (or .md, or .ipynb) -> index.html
index.html acts like a default page for the site or directory.
You aren’t limited to .html. We can also use other file types as
.csv.
Navigation bar
In _quarto.yml under website: navbar
Give a path from site root
Other customizations
_quarto.yml
website:
  navbar:
    title: Data Lab for Social Good
    logo: images/logo.png
    search: true
    left:
      - text: Home
        href: index.qmd
        icon: house-door-fill
    right:
      - text: Projects
        href: projects/index.qmd
      - text: Talks
        href: talks/index.qmd
      tools:
      - icon: github
        href: https://github.com/
      - icon: linkedin
        href: https://www.linkedin.com/
Options for icons: Bootstrap Icons
Primary navigation
Top navigation
_quarto.yml
Add items to left, right and tools
Nested navigation
Top navigation
_quarto.yml
Add a text item along with menu
Read more about page navigation
Bonus: Page footer
Now it is your turn.

Customize your navigation bar
titleExperiment with the position of your links in the navbar:
left,rightor amixAdd at least one item to
toolsin your navbarTry both
top navigationandside navigation
05:00
Break

Ctrl+Alt+Coffee ☕ — reboot in 10 mins.
10:00
Listings…
What is listing and why we need it?
What?
- an automatically generated list of content
- styled via a template, (built-in
type, or customtemplate) - can be included on any page
Why?
- Great for large collections
- Great for collections that grow

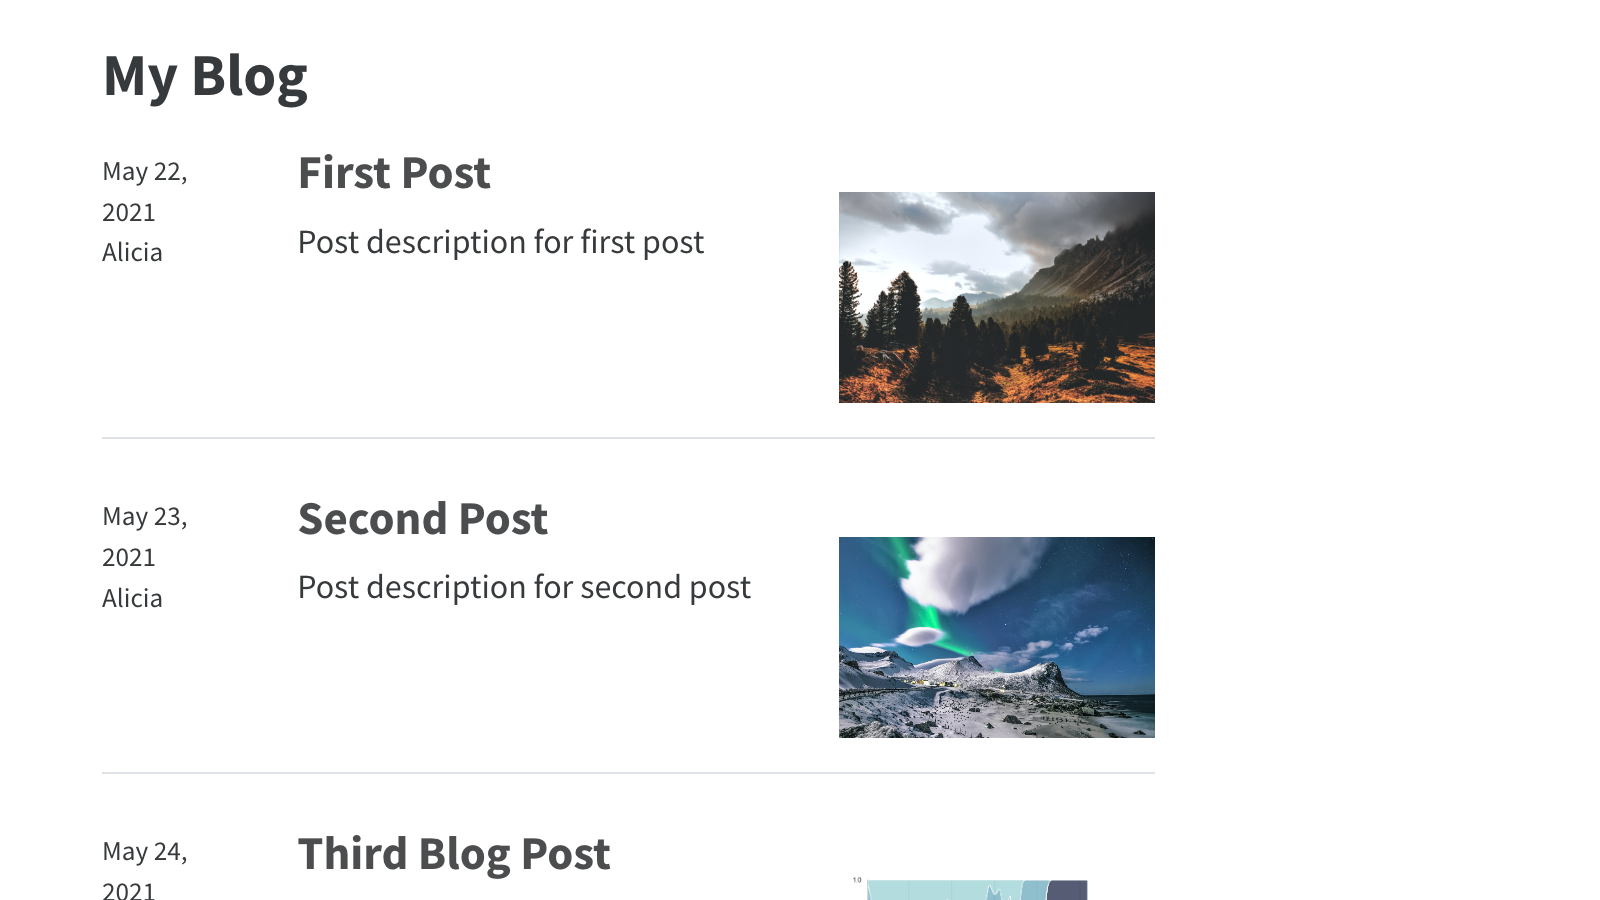
Lets create lisitng for blog page
blog/ has some folders with documents in them
Demo:
Make a new page
blog/index.qmdMake it a listing:
Now it is your turn.

(Repeat) Make a new page
blog/index.qmdwhich is a listingExperiment with
type:default,gridortable
05:00
More options in listings
Use listings for projects page
Note:
contentscan be a YAML file
project/projects.yml
- title: Predicting House Prices with Machine Learning
  path: https://example.com/house-prices
  # Photo by Breno Assis on Unsplash https://unsplash.com/photos/aerial-photography-of-rural-r3WAWU5Fi5Q
  image: images/breno-assis-r3WAWU5Fi5Q-unsplash.jpg
  description: >
    This project involves using machine learning algorithms to predict house prices based on
    various features such as location, size, and amenities. It includes data cleaning,
    feature engineering, and model selection.
  categories: [Python, Machine Learning, Data Cleaning]
  date: 2024-01-01
  ...
Path can be a relative path to a file in your site, or a URL
You can use Listing Fields, or create custom ones.
Simple customizations
Sort and filtering options
Use field-display-names to provide a different label for a field
YMAL keys for a blog or project file
Lets open blog/third-post/index.qmd
As simple as:
Lets add custom buttons
Paste this in styles.scss
styles.scss
/* custom button */

button {
  background-color: transparent; /* No filling */
  border: 2px solid rgb(55, 58, 60); /* Gray border */
  color: rgb(55, 58, 60); /* Gray text */
  padding: 5px 10px;
  text-align: center;
  text-decoration: none;
  display: inline-block;
  font-size: 12px;
  margin: 4px 2px;
  cursor: pointer;
  border-radius: 5px; /* Rounded corners */
}

/* Hover effect */
button:hover {
  border-color: #0066b2; /* Blue border on hover */
  color: #0066b2; /* Blue text on hover */
}

/* Hover effect for Journal article */
#journal-article-btn:hover {
  border-color: #0066b2; /* Blue border on hover */
  color: #0066b2; /* Blue text on hover */
}

/* Hover effect for GitHub repo */
#github-repo-btn:hover {
  border-color: #00A86B; /* Green border on hover */
  color: #00A86B; /* Green text on hover */
}
Add text to the body and a link:
<link rel="stylesheet" href="https://cdnjs.cloudflare.com/ajax/libs/font-awesome/6.0.0-beta3/css/all.min.css">

<button id="journal-article-btn"
        onclick="window.open('slides/intro_method_skills.html', '_blank')">
  <i class="fas fa-bookmark"></i> Slides
</button>

<button id="github-repo-btn" onclick="window.open('https://github.com/', '_blank');">
  <i class="fab fa-github"></i> GitHub repo
</button>
Heading
Lorem ipsum dolor sit amet, consectetur adipiscing elit, sed do eiusmod tempor incididunt ut labore et dolore magna aliqua. Ut enim ad minim veniam, quis nostrud exercitation ullamco laboris nisi ut aliquip ex ea commodo consequat.
Now it is your turn.

Test different customisations in
listingEdit and customise
ymlin one of yourblogpostsAdd all the pages to your site navigation
10:00
Lets publish your website
Create a new Quarto project
In RStudio, go to
File > New Project > New Directory > Quarto Website.For the directory name, use the URL you want for your website.
If it’s a personal site, use the format your-username.github.io. For example, if your username is “
batman”, the directory name would bebatman.github.io.If the site is for a GitHub organization, use the format organization-name.github.io.
Choose a location on your computer to save the project.
Ensure that “
Create a git repository” and “Use renv with this project” are both checked.Click “
Create Project”.
Create a GitHub repository
Go to GitHub and create a new repository.
The repository name must exactly match the directory name you created in RStudio (e.g., your-username.github.io).
For free accounts, you must set the repository to Public for GitHub Pages to work.
Click “
Create repository”.Link your
local project folderto thenew GitHub repositoryand push the initial files.
Create a gh-pages Branch
After pushing your project, go to your repository on GitHub.
Click on the branch dropdown menu (which should say “
main”) and select “View all branches”.Click “
New branch”.Name the new branch
gh-pagesand click “Create new branch”.
Set up the GitHub actions workflow
In your RStudio project, create a new folder named
.github.Inside the
.github folder, create another folder namedworkflows.Inside the
workflows folder, create a new text file and name itpublish.yml.Go to the Quarto documentation page about publishing to GitHub Pages. Find the example for a GitHub Action that uses renv (go here: https://quarto.org/docs/publishing/github-pages.html#example-knitr-with-renv).
Copy the entire code block from that example.
Paste this code into your publish.yml file and save it and commit changes.
Configure GitHub pages settings
On your GitHub repository page, go to
Settingsand then clickPagesin the side menu.Under the “
Branch” section, use the dropdown menu to select thegh-pagesbranch as the source.Click
Save.Click on the
Actionstab at the top of your GitHub repository page.ou will see that your recent commit has automatically started the workflow.
Once the action is complete, go back to
Settings > Pages.Click the “
Visit site” button to see your live website at the URL you specified.
Now it is your turn.

Create the
quarto website projectfolderCreate
Github repoLink your
local folderwith theGithub repoCreate the
workflowPublish your
website
07:30
Congratulations…
You have a website!
🎉🥳🎉
Resources to keep learning
Any questions or thoughts? 💬

